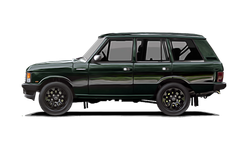
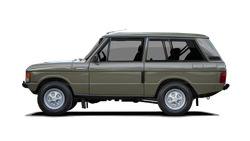
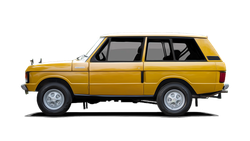
Range Rover Classic Panel Straightening & Painting
At Kingsley, we pride ourselves on our paint finish and straight panels.
Our body shop follows a laborious 10 staged process that guarantees the finish will last not just today but for years to come. The video below provides an insight into the paint process:
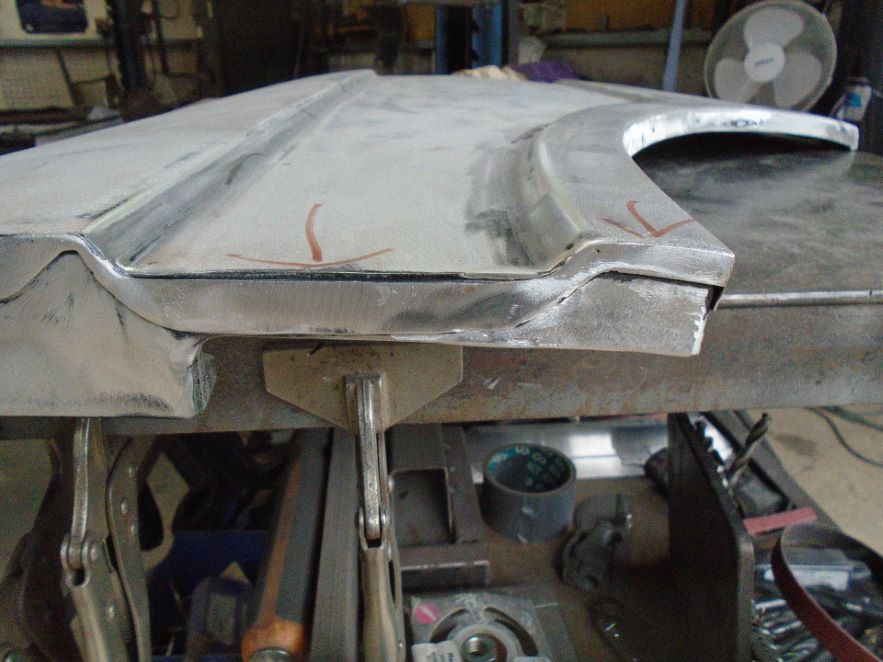
Removing Corrosion from the Body Panels
Having removed all of the outer body panels including the front wings, bonnet, decker panel, doors, rear wings, quarter panels, lower tailgate and complete roof, the paint shop remove all of the paint right back bare metal on both on the outside as well as the inside (to make sure that we are working from a known substrate).
The striped panels are then handed to the Welding & Fabrication Dept. to have any corrosion identified with LPI. Any areas of corrosion are removed by cutting away and letting in new metal and seamlessly butt welded into place by seamlessly aluminium welding in new material by our panel beaters.
Areas on the outer body panels which have galvanic corrosion are first repaired and annealed. Galvanic corrosion is an electrochemical process in which the outer alloy panel corrodes preferentially to the inner steel shell when both metals are in electrical contact, in the presence of an electrolyte like rainwater. This same galvanic reaction is exploited in primary batteries to generate an electrical voltage.
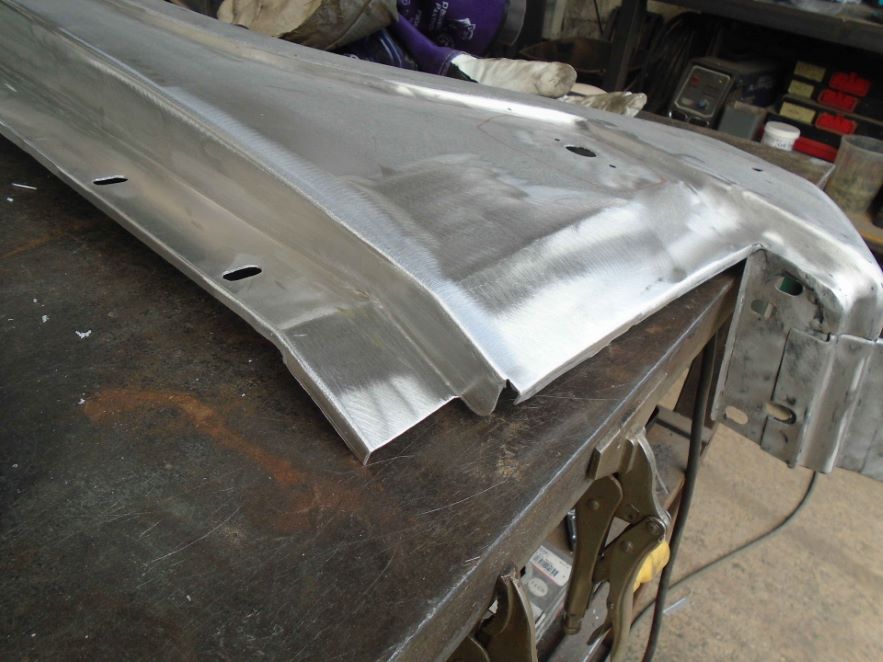
Preparing & Straightening the Body Panels
The repaired and straightened panels are then handed back to the Head of paint, who inspects and fixes each individual panel to a jig to keep them absolutely true, then uses his skill to straighten, ‘long blocking’ the panels so they are totally arrow straight.
Long blocking is a technique where smooth minor surface imperfections can be removed. These are typically tiny high and low spots, so small you really can’t see or feel them, but a glossy top coat has been applied, minor imperfect reflections may show. If the substrate or base we apply primer to has minor imperfections in it, the primer will conform to them even if ‘blocked’. The next coat will do the same, and so on, and so on, up to the final clear coat. In order to get a smooth like glass top coat finish, we need to solve this whilst still in the primer phase by blocking the entire car — each panel takes between 12 and 18 hrs to prepare for paint and there are 14 panels on a four-door Range Rover which can take over 250 hours of preparation time before applying the paint!
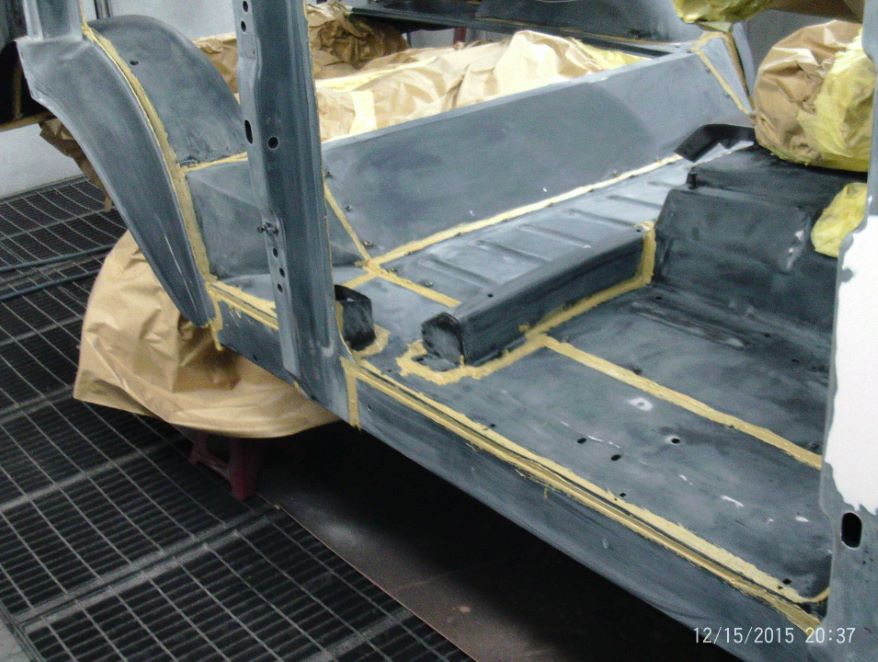
Range Rover Bodyshell Future Proofing
The welded, repaired bodyshell is moved on a dolly from the fabrication department to the paint shop where it is completely and labouriously bare metaled by hand both on the inside and the outside.
The first stage is to etch prime the shell which guarantees adhesion of the paint, then it is denibbed, seam sealed on both the inside outside of the shell to stop water ingress slowing corrosion. As a final barrier to corrosion, we apply a modern rubberised product throughout the whole of the underside of the shell prior to painting and lacquering.
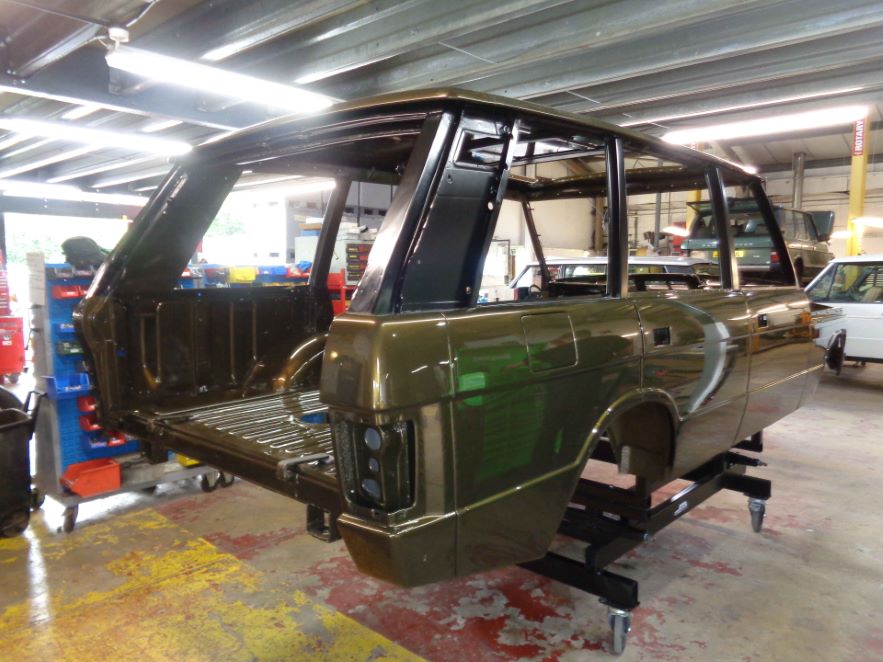
Priming and Painting Panels
The next stage is the prepared and primed panels are left to ‘cure’ for 6 weeks. This period allows the base material time to naturally settle and shrink to occur.
As a final check before painting, our head of paint sprays a thin layer of pre-painting prep fluid onto the panel to get it wet. Before the panel wipe evaporates he inspects the way light reflects off the panel. This will gives him a very clear indication of what the panel is going to look like after paint and clear lacquer coat and if it requires any additional preparation.
These are just some of the many differences between a commercial or regular body shop and Kingsley’s straightening and restoration of panels and paint preparation, the long term finish which comes as standard, will last, long after the price has been forgotten.
Subscribe to our newsletter and learn about our latest news and updates.

