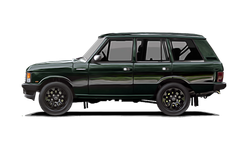
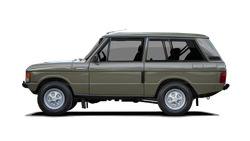
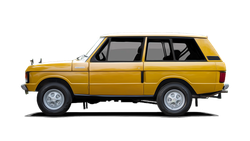
Range Rover Classic Corrosion
Range Rover Classics are constructed from a steel body shell mounted to a steel ladder chassis.
There is no question that recently rebuilt cars are built in a manner which dramatically reduces the propensity for these models to corrode - which goes some way to supporting why restored cars make a good long term ownership proposition over cars which have never been restored!
The shell is clad with a steel bonnet and tailgate and ‘Birmabright’ alloy panels. The panels do an excellent job of hiding the rust on the steel shell whilst it is silently corroding away. The reality is that under the body panels, most Range Rover Classics are suffering to a greater or lesser extent with most or some of the below issues:
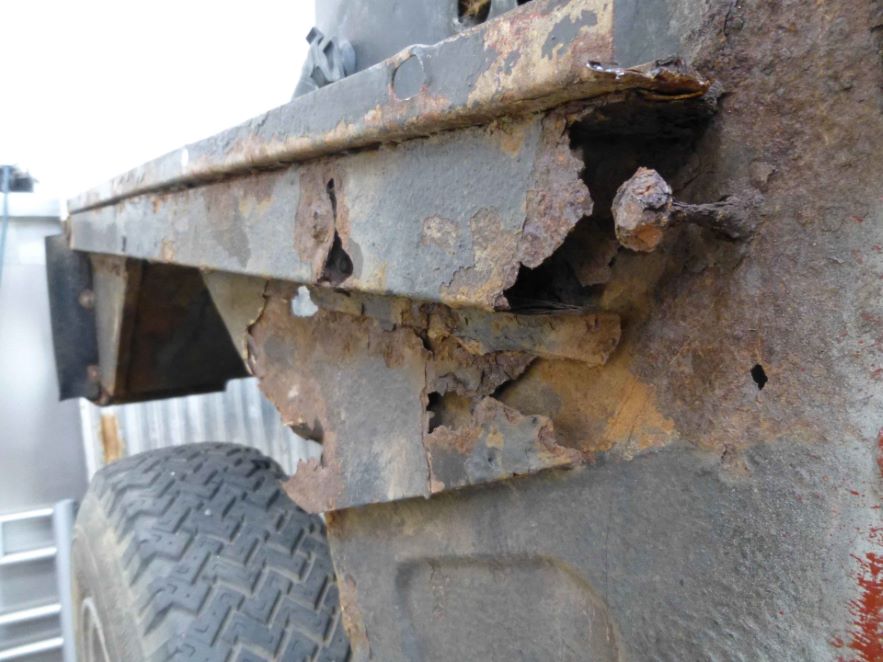
Bodyshell Corrosion
The bodyshell is fixed to the chassis with 10 rusty bolts. You can lift the shell off if you break/cut and occasionally unbolt those.
Beware, if the shell is already weakened by rust — it will not be sufficiently strong to remain in shape by itself which is why we restore bodyshells before separating them from the chassis.
Weak spots of the chassis are the rear and front cross members, outriggers and coil spring mounts.
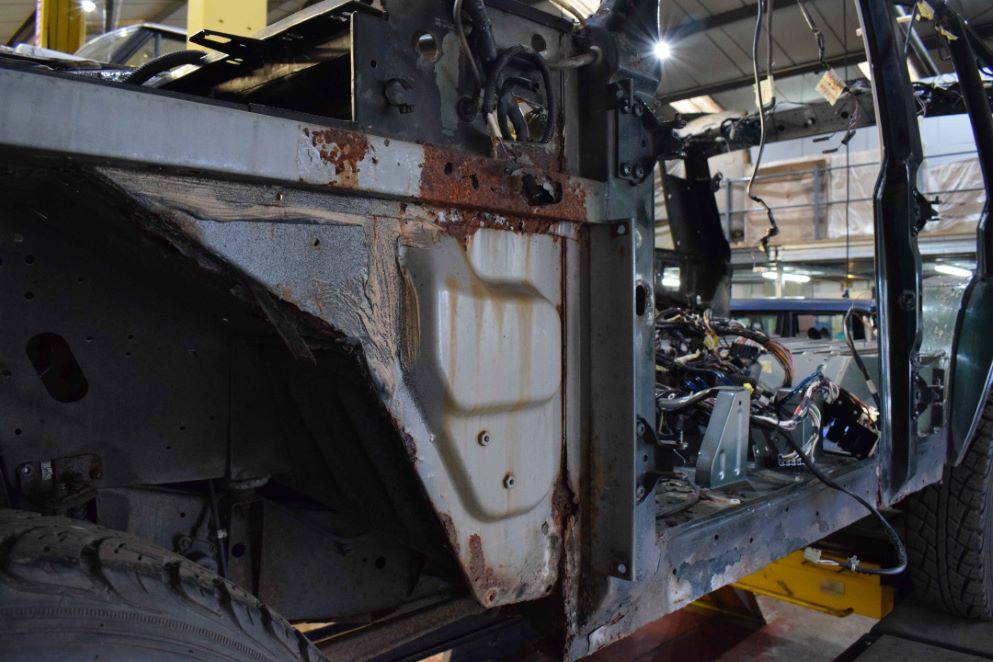
Corrosion in Front Inner Wings
The inner wings on Classic’s rot easily especially if the vehicle has been used off-road or if it is a later model which was fitted with wheel arch liners as the fixing holes in these corrode easily. Mud tends to accumulate behind the arch liners which holds moisture which leads to corrosion.
We make several types of complete new inner wings dependant upon the age of the car. Our inner wings are correct including all of the holes for each and every period of the Range Rover Classic.
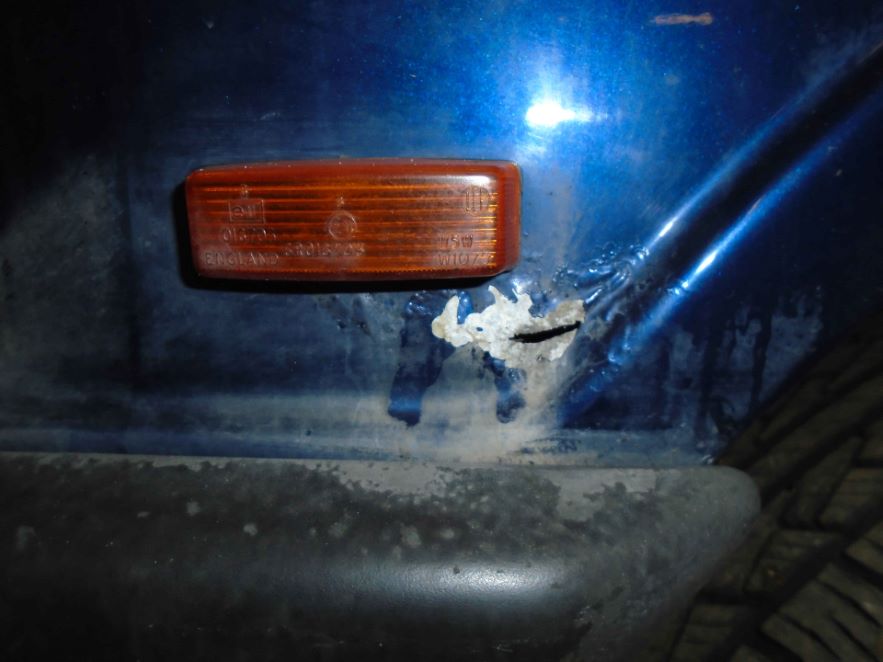
Outer Wing Corrosion
Front and rear outer wings are made Birmabright aluminium alloy. The greatest challenge with alloy is that where it makes contact with the steel shell they electrolytically or galvanically corrode.
Galvanic corrosion is an electrochemical process in which in the case, the outer alloy wing corrodes preferentially to the inner steel shell when both metals are in electrical contact, in the presence of an electrolyte like rainwater. This same galvanic reaction is exploited in primary batteries to generate an electrical voltage.
Kingsley’s head of Fabrication, Jollyman, supported by Neil checks the thickness of the metal. Areas on the outer wings which have galvanic corrosion are first bare metalled inside and outside, repaired and annealed prior to being dressed for straightness by Chris and Trevor.
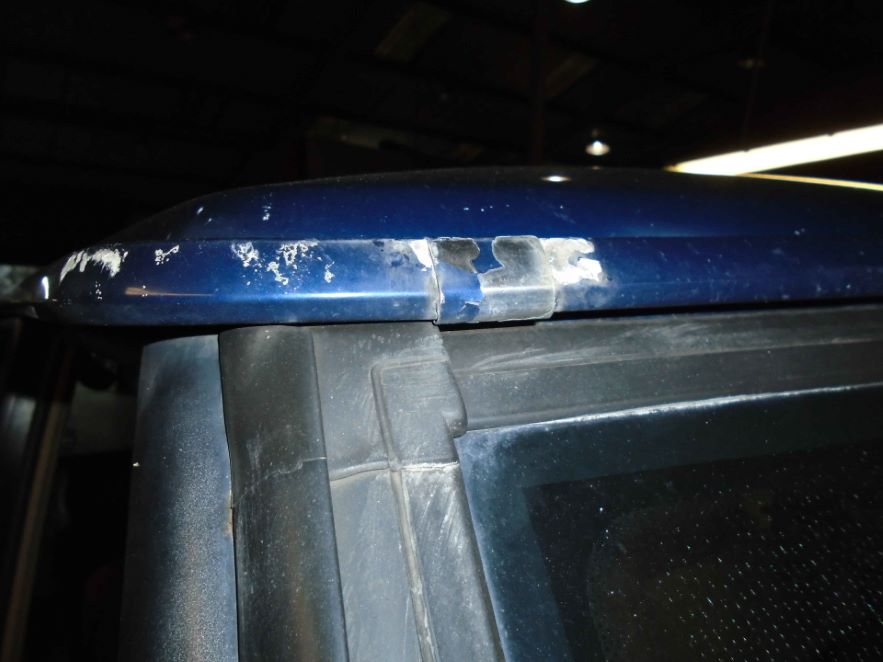
Windscreen & Rear Goalpost
Bubbling under the windscreen rubber usually is quite worrying which as it has corroded, again this need not be terminal but the only way to understand the depth of the corrosion is to remove the windscreen.
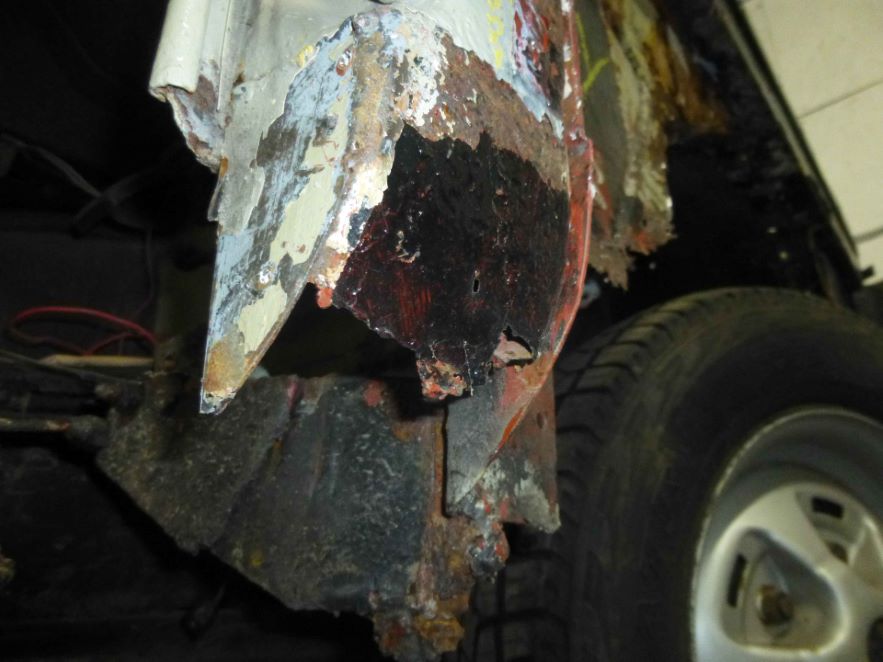
Corrosion in Footwells / A post
A rust prone spot is in the front footwells near and including the bottom of the A‑posts. Lift the carpet in most cars and be prepared for a shock.
If there are no holes are already, try to make some by pushing hard with your thumb (with protective gloves) Now, grab the A‑post and try to move it at the base. If you are able to move it even a fraction it means the body structure is seriously weakened.
We can successfully make perfect repairs that but they aren’t easy and due to the amount of time they take tend to be quite expensive.
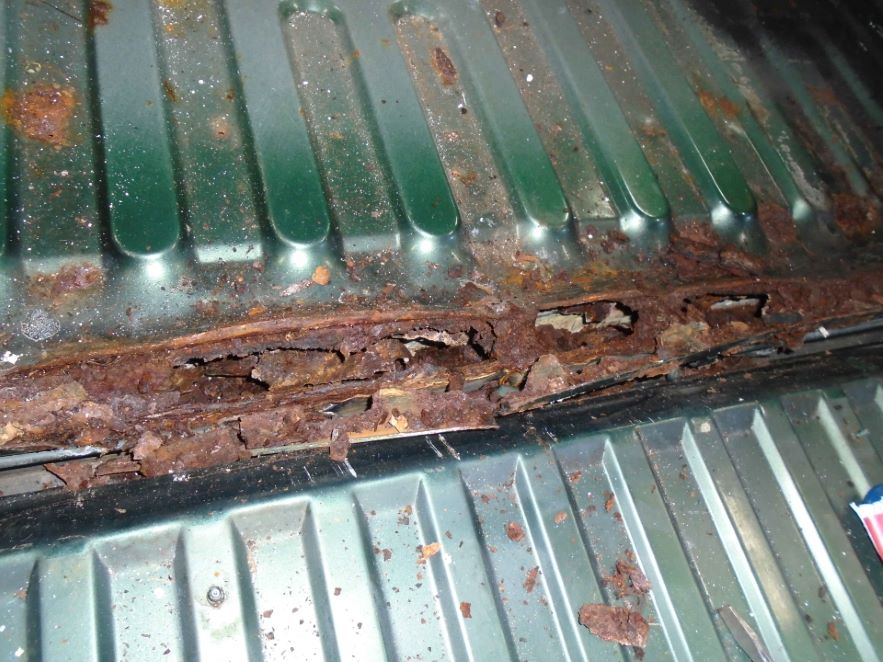
Luggage Area Corrosion
Completely remove the carpet and the soundproofing from the load bay area and brace yourselves. Large holes will probably have developed without you ever being aware.
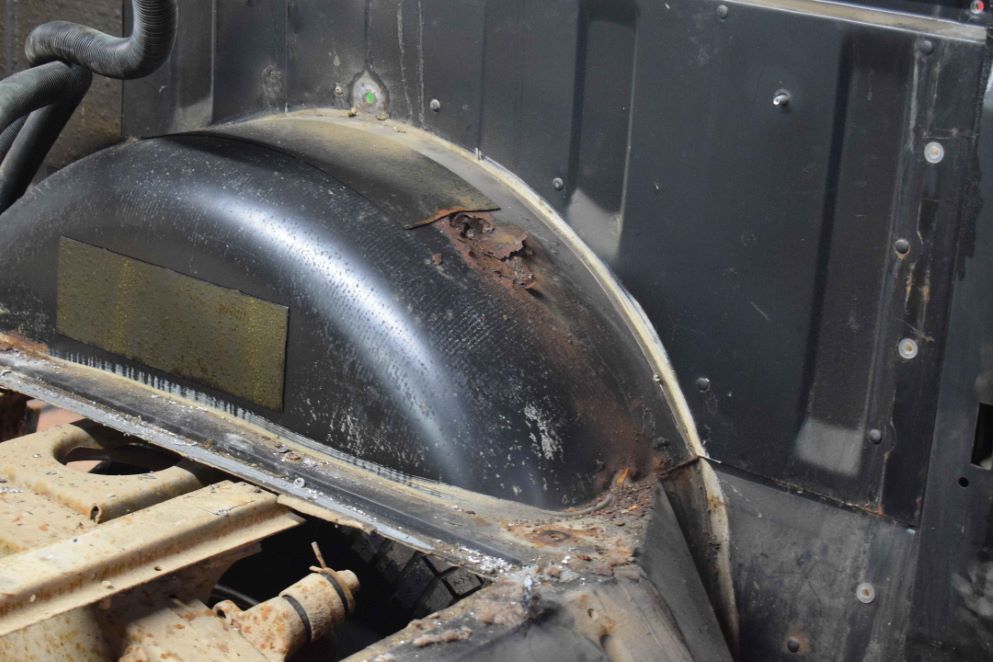
Rear Inner / Outer Wheelarch Corrosion
On a four door car its quite easy to see the corrosion on the outer wings, they often have a section missing at the bottom and are starting to hole in the top corners — quite a straight forward but time consuming repair.
On the inner wheel arch check that the seatbelt strengthening plates have not started to corrode as this is the only item securing your back seat passengers.
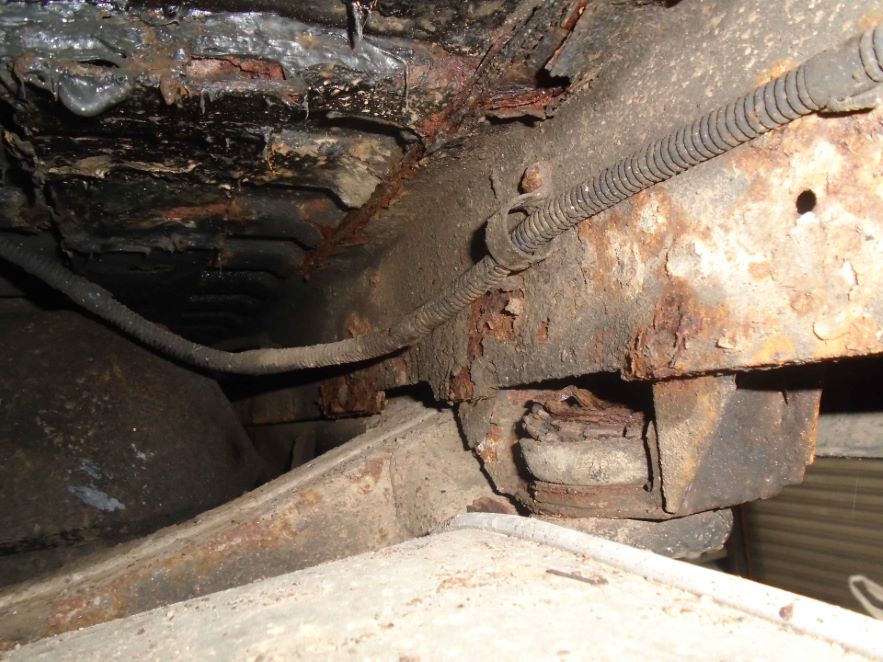
Rear Cross-Member Corrosion
This is a very important structural beam which connects the rear of the floor to rear ‘goal post’ to the chassis by two mounts. Corrosion is difficult to see from the top as its hidden by the floor and disguised but it can easily be seen from the underside of the car.
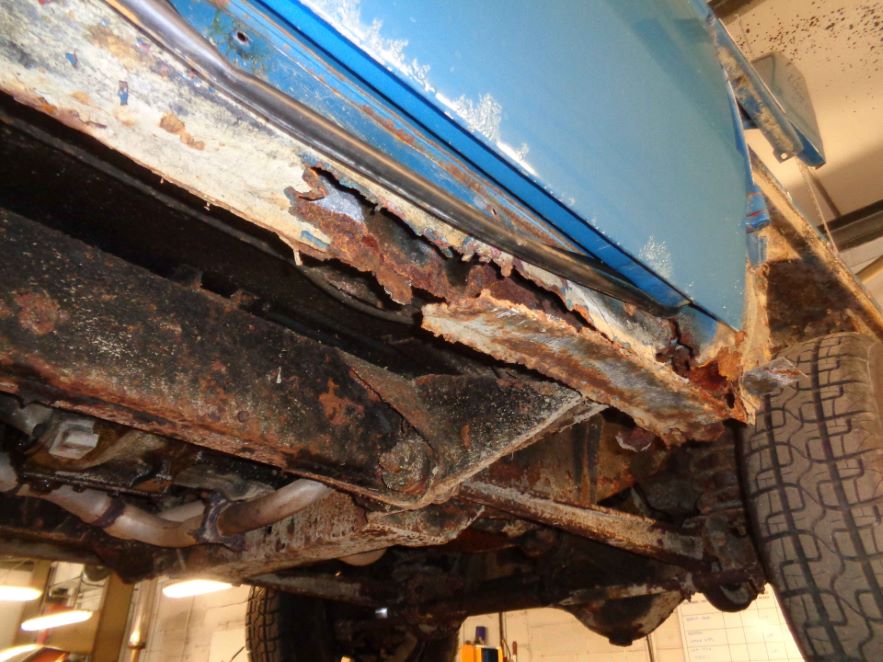
Sills
Check inner and outer sills thoroughly. They are crucial to the shell’s strength and again a rust prone area.
Push up right behind the plastic cover and press as hard as you can over the entire length, making sure to wear your gloves again. Proper sill repairs are difficult and time-consuming. Check seat mountings too as rust from the sills can spread to the floor. On early Ranges seat belts were fixed at the same point as the seat so this place should be really sound but on later cars its not unusual to have the mounts rotted out.
Bulkhead Corrosion
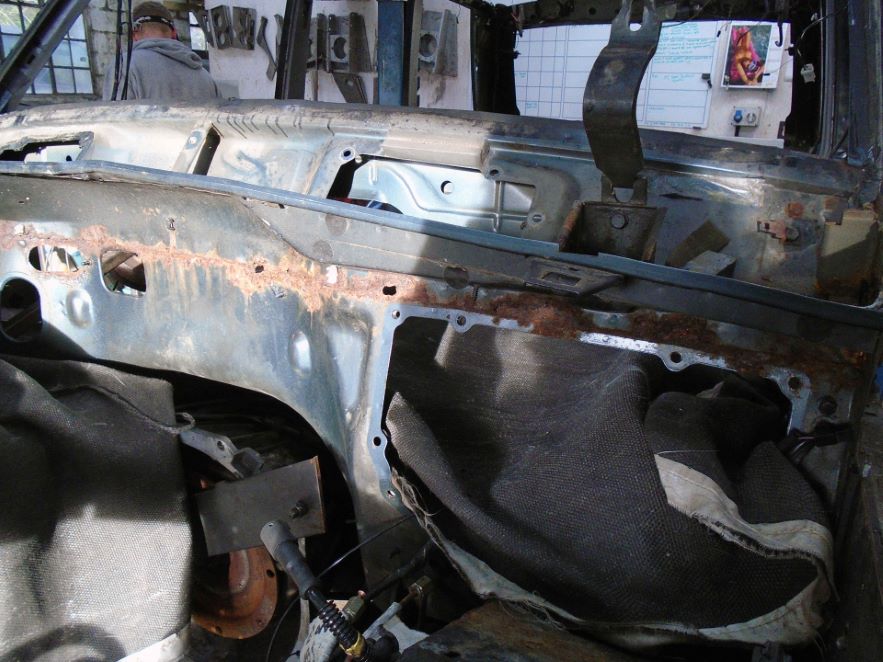
Corrosion is quite common to the bulkhead and the most expensive problem you can encounter as repairs here usually necessitate the removal of the wiring harness.
It can be felt from under the front wheel arch after digging your way through dirt and mud. Small holes aren’t too much of a problem, you will just get wet carpets and rot in the footwell. Large sections however require a replacement bulkhead which means an almost complete restoration with all the costs and work involved.
Tailgate Corrosion
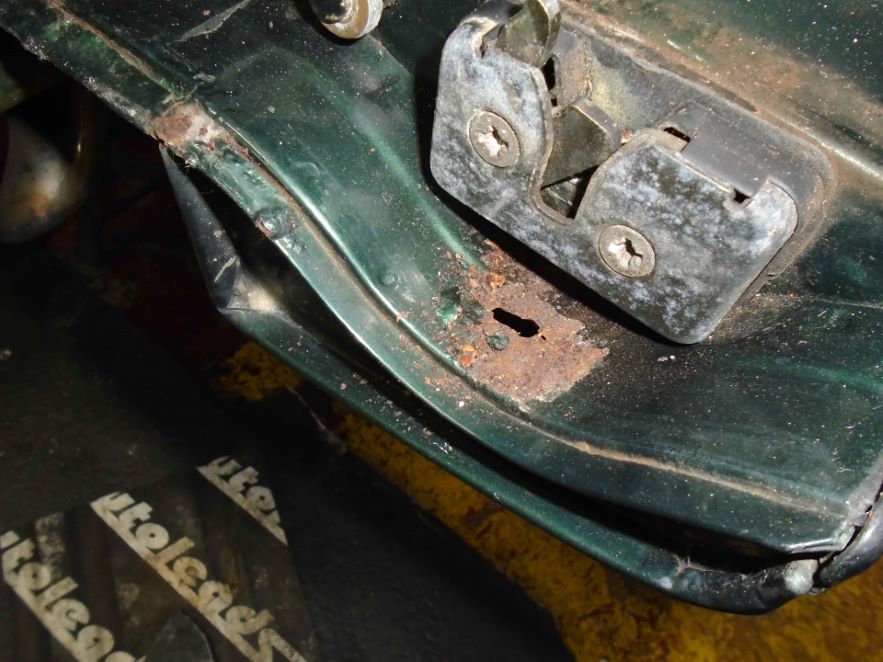
Sometimes so rusty they literally fall apart. Some did even seem to have come from the factory in pre-rusted condition! Upper and lower halves are equally rust prone. You can buy upper tailgates as an aftermarket aluminium item in varying qualities but new lower tailgates are generally unobtainable and good used ones can be quite challenging to locate.
How to Check for Corrosion
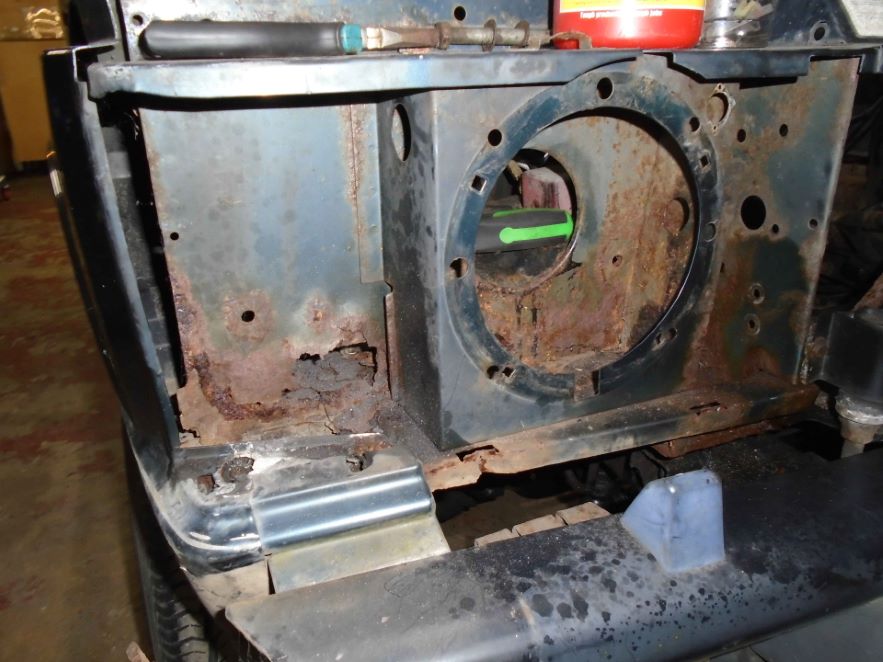
You can check for yourself quickly the amount of corrosion a Range Rover Classic generally has by removing the two screws which hold the front indicator in place, removing the indicator and looking at the panel behind — if there is corrosion/holes in this panel then there will be corrosion on other places on the inner shell.
Subscribe to our newsletter and learn about our latest news and updates.

